Archive for the ‘in the kitchen’ Category
pantry raid
- Author: à la mode*
- Filed under: in the kitchen
Oct 15, 2009
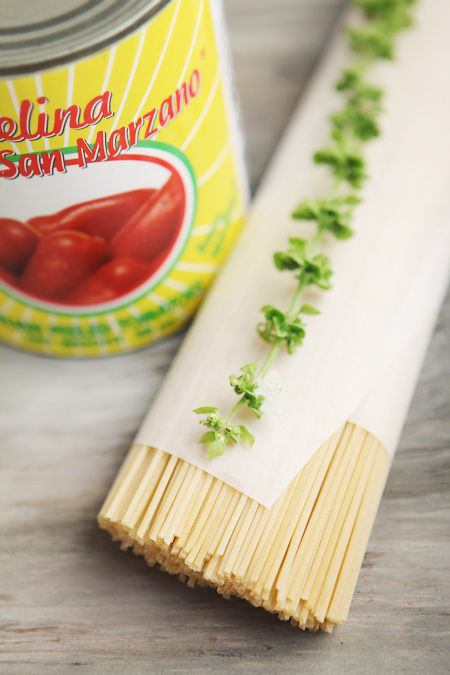
For someone who loves to eat, I often have very little in my refrigerator. At last check there was a half carton of eggs, a few styrofoam boxes of leftovers, some plain Greek yogurt, and more things than I care to admit that are way past their prime. It’s times like this that I rely on my pantry for a quick and easy meal that doesn’t require a trip to the market. There’s always a consistent supply of canned tomatoes and dry pasta in my cupboard. A few heads of garlic are also always on hand, which store well in the dark with the previous two ingredients. A few snips of basil from the garden and you have the makings of spaghetti marinara. Bottled Kalamata olives and tinned artichokes make great additions as well, when you desire a little more textural and flavor contrast.
It’s really quite simple. Start the water boiling for the pasta. You can basically have the tomato sauce done by the time the water boils and the noodles are cooked. Fifteen minutes tops. About the same time it takes me to drive to in-n-out, wait in the drive thru, and drive home. And it’s healthier to boot as well.
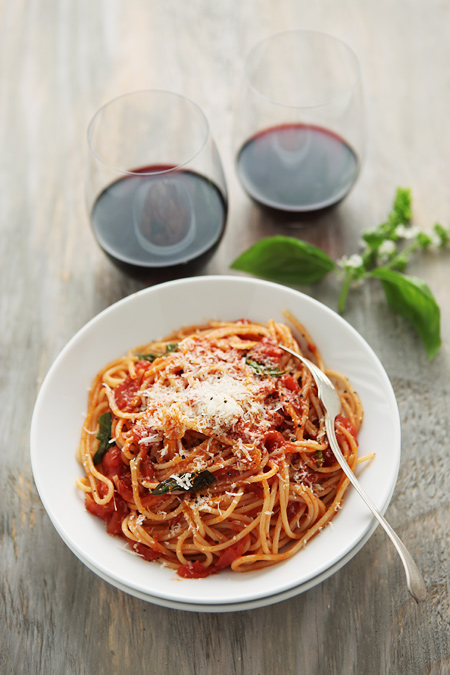
spaghetti marinara
good canned tomatoes makes all the difference. try a few different kinds from your local market and go with the ones with plump, intact fruit and juice that is nice and thick. imported Italian San Marzano tomatoes are usually expensive but great for a splurge.
- 1 28 oz. can whole plum tomatoes
- 2 cloves garlic, thinly sliced
- 1/2 teaspoon dried oregano
- 1/4 teaspoon red chili flakes
- 1/4 cup white wine
- 2 tablespoons extra virgin olive oil
- basil leaves
- Parmigiano Reggiano or Grana Padano
- 1/2 lb. dry spaghetti
- salt and pepper to taste
- pinch of sugar (optional)
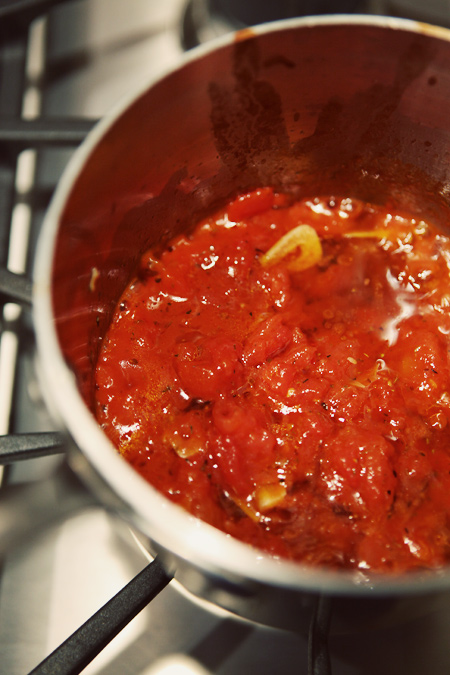
Bring a pot of water to a boil. Meanwhile, add olive oil, garlic, oregano, and red chili flakes to a saucepan and warm over medium heat, around 2-3 minutes or until garlic just begins to sizzle. Crush tomatoes with hands or chop roughly with knife. Add tomatoes to saucepan. Add salt and freshly ground pepper to taste (adjust salt depending on the salt content in the canned tomatoes; if the tomatoes are salted, you will need little to no additional salt). Stir in white wine and heat for 3-5 minutes to cook off the alcohol. Add remaining juice from tomatoes to desired consistency (just enough so tomatoes aren’t dry and are a bit saucy). Taste sauce and if it’s quite tart, add a small pinch of sugar to balance out the acidity. Stir in basil leaves and reduce heat to low.
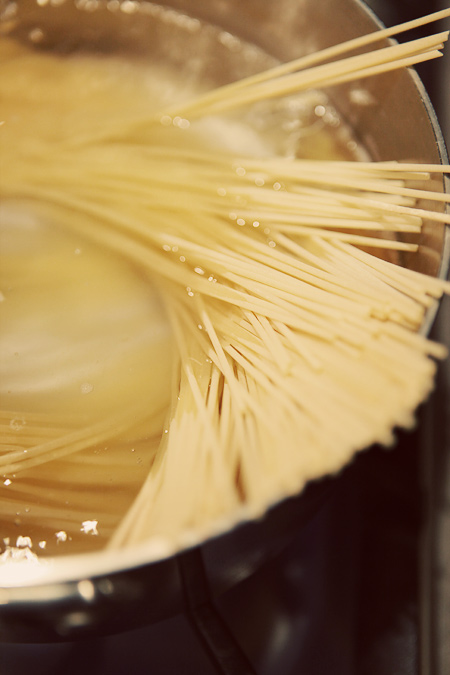
Cook pasta in boiling water for 8-10 minutes or until al dente. Drain and return noodles to pot. Add sauce to pasta and toss to coat. Add grated cheese, more ground pepper and serve.
where the wild things are
- Author: à la mode*
- Filed under: in the kitchen, travel
Oct 13, 2009
camping, eating, and doing much of nothing in Yosemite National Park
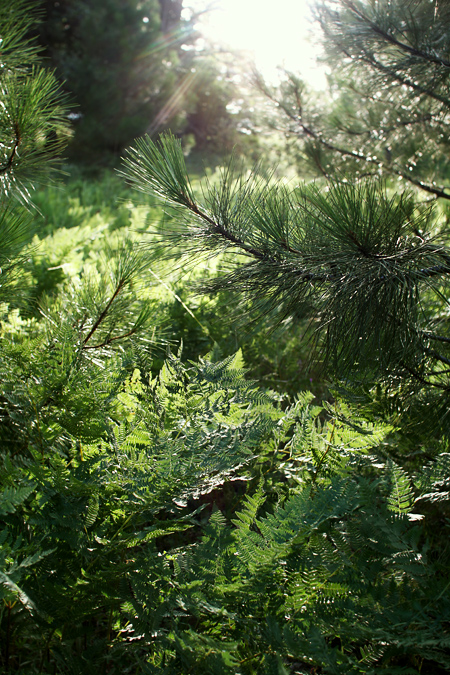
The last time I was in Yosemite I was the young tender age of thirteen, on my 8th grade class trip. That fun-filled week in the great outdoors, the awe-inspiring scenery, and the camaraderie and experiences I shared with my friends, classmates, and teachers left an indelible impression on me. I had always made it a point to return, and despite the relative closeness of the park I had never made it back in all those years.
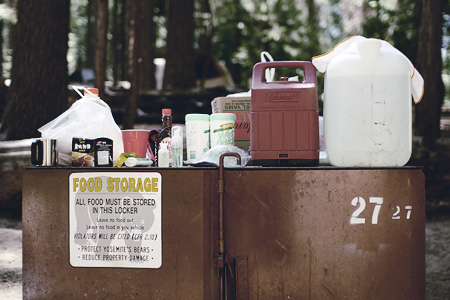
After a snowboarding trip earlier in the year, our friend Judy suggested that we join her on her annual summer camping trip to Yosemite. Excitement was met with anticipation; I could hardly wait to visit Yosemite once again. Of course it was a no-brainer that food would be a big part of our trip. There wasn’t going to be freeze-dried, prepackaged food in our camp. Especially having to sleep in less than ideal conditions, foregoing the creature comforts of a shower and real bathrooms, and being scruffy and dirty day-in-day-out, there had to be something to look forward to.
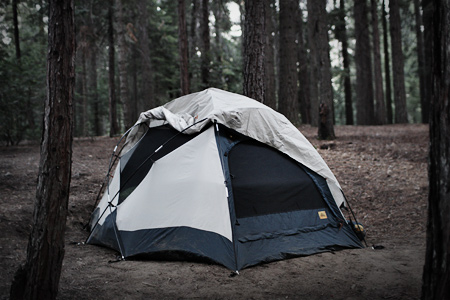
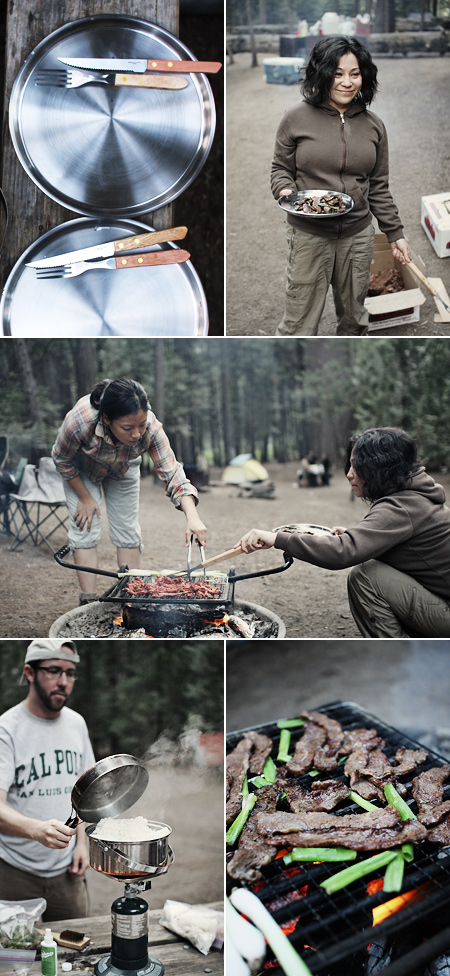
We arrived at our campsite in Yosemite National Park’s Hodgdon Meadows in the late afternoon, with cars brimming with supplies: coolers and bags chocked full of food and snacks, tents, chairs, sleeping bags, and yes even an Aerobed. We were definitely not ‘roughing it’. After unloading all our gear and fumbling with our tents, a fire was started and we got down to business.
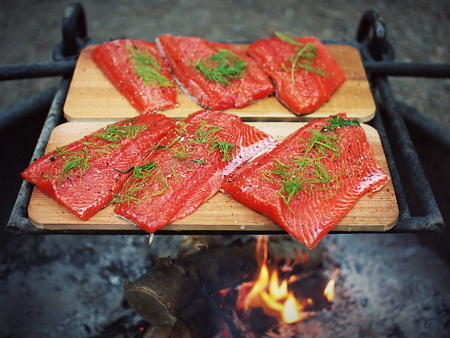
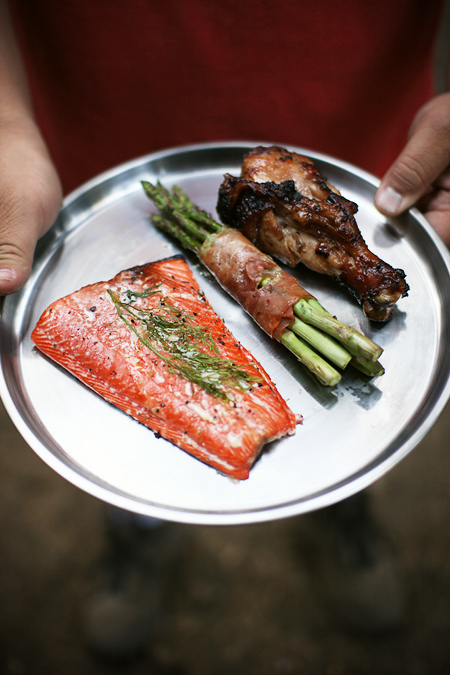
The first night’s menu would be cedar plank wild Atlantic salmon, prosciutto wrapped asparagus, fire-baked potatoes, and roasted corn on the cob. Our friend Gordon brought his soy glazed chicken legs. The beautiful whole salmon filets were brined the night before in a simple solution of water, salt, brown sugar, black peppercorns, juniper berries, cloves, and a good handful of fresh dill. The brine helped keep the salmon deliciously moist during grilling, and the infused flavors of the spices, brown sugar, and dill were complimented by the sweet cedar smoke.
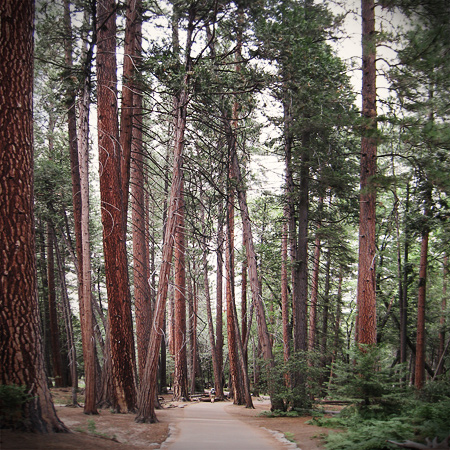
There’s no better way to wake up after a brisk night among the towering pines than with the wafting smells of breakfast: sizzling bacon, fresh eggs, buttery potatoes, and nose-perking coffee. It was probably more work than most people would bother with so early in the day, plus all the dishes that needed to be done without running water and a sink, but in my opinion totally worth the effort. It was a perfect start; fuel for the day’s activities.


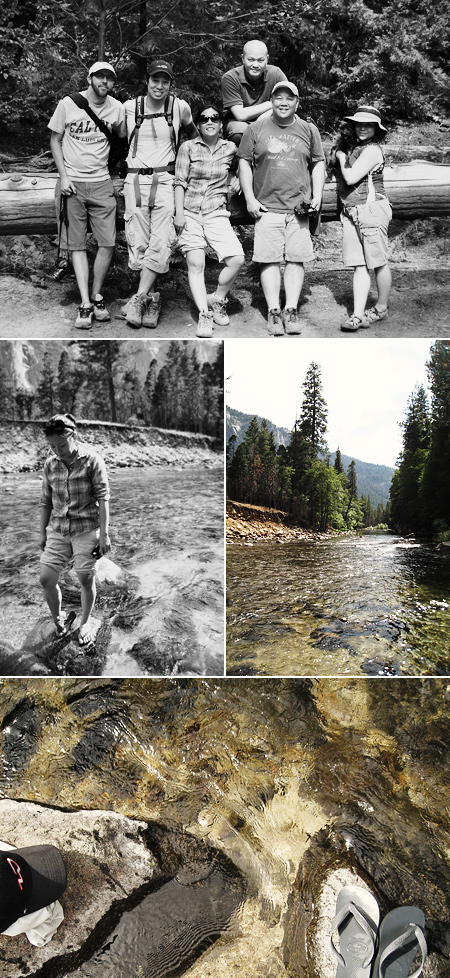
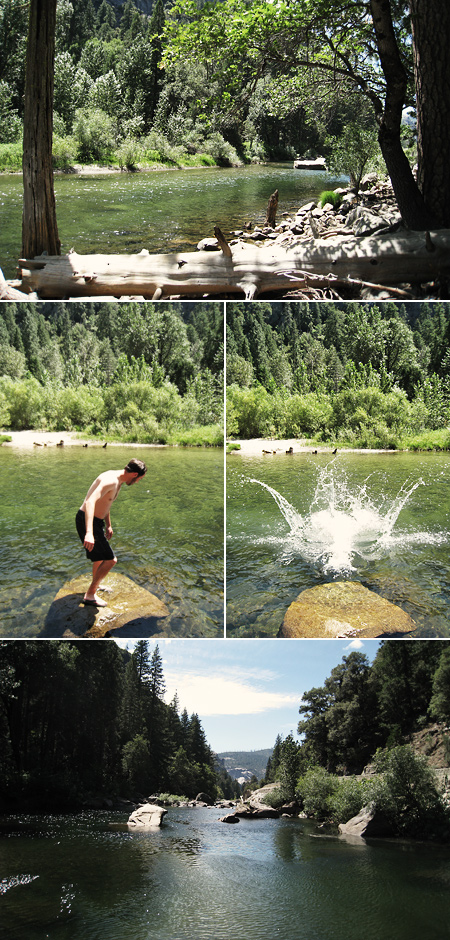
We spent the day in Yosemite Valley, which was a good 45 minutes away from our campgrounds. We experienced some of the same incredible views we encountered upon entering the park the afternoon before: the grand and larger-than-life granite faces of El Capitan and Half Dome, steep valleys and canyons dotted with evergreens, misty waterfalls, and beautiful verdant meadows. We wandered around the valley floor for a bit, and cooled off in the crystal waters of the Merced River before returning back to camp.
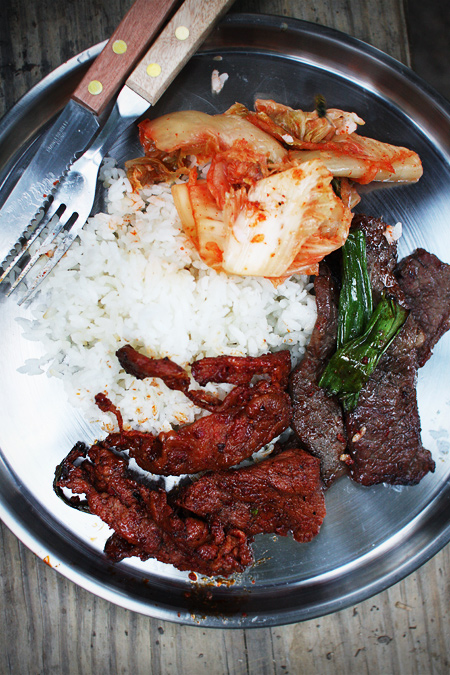
Dinner later that evening was Korean: Marinated boneless short ribs, spicy pork, kimchi, rice, and some Korean lager. This meal was well suited for camping; everything was bought from the Korean market already prepared, and we packed the food in zip-top bags that fit easily in the cooler. The rice was precooked at home, which was quickly reheated with a little water and a few minutes over the fire. Totally simple and oh so satisfying. We followed the BBQ meal with our favorite nighttime activity, a little quality time around the fire. No distractions, just good ol’ conversation with friends before retiring for the night.


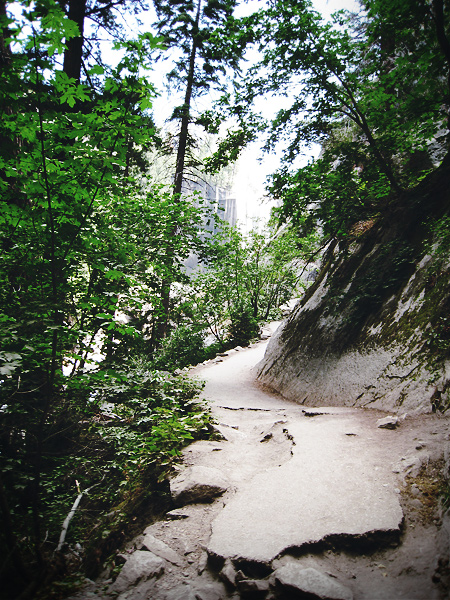
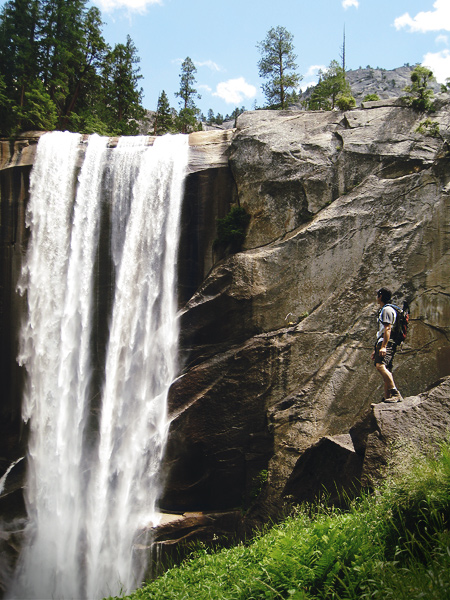
On the third day, a couple of us went on a short hike. We originally wanted to hike the infamous and challenging Half Dome, but due to our lazy, late start, we decided to only head up to Vernal Falls. The lure of a relaxing afternoon picnic on the banks of the Merced was way too strong; any farther of a hike would have taken too long and we would have missed out on the fun times on the river.
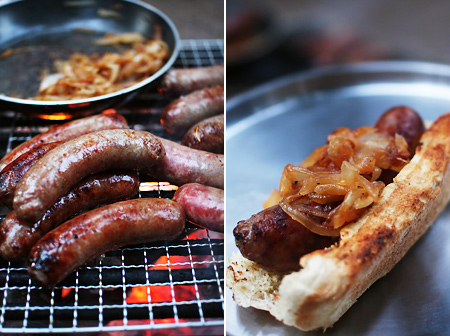
We saved the most simple meal for our last night: grilled bratwurst with caramelized onions. By now we had emptied out most of the perishable items in our cooler. It was time to go home.
Camping in Yosemite was an absolute blast. I’m happy to report that despite the crowds and sheer amount of people sharing the park at the same time, Yosemite today is relatively close to how I remembered it. The beauty, grandeur, and mystique of the park still continues to amaze and I’m sure next time I won’t wait so long to return. And I know next time we’ll eat well once again.

cedar plank salmon
cedar planks can be found at gourmet markets and food specialty stores. serves 4-6 people.
- 2 whole salmon filets, preferably wild with skin on
- 1/2 cup kosher salt
- 2/3 cup brown sugar
- 4 cups of cold water
- 10 whole black peppercorns
- 3 whole cloves
- 4 juniper berries
- 1 bunch of fresh dill
Scale and remove pin bones with a pair of needle nose pliers if any. Cut each whole filet in half crosswise. Add remaining ingredients to a large mixing bowl and stir till sugar and salt are dissolved. Taste brine and adjust salinity by adding more water until it tastes as salty as seawater. Place two salmon pieces in a gallon-sized zip-top bag, skin down. Add several sprigs of dill over each piece and top with two more pieces of salmon, as to sandwich the dill in between. Fill bag with brine solution and seal. Refrigerate for 12 hours. Remove filets from brine and pat dry with paper towel. Place filets on cedar planks and grill on a bbq over medium high heat.
categories
archives
- July 2012
- June 2012
- April 2012
- March 2012
- July 2011
- May 2011
- April 2011
- March 2011
- January 2011
- December 2010
- November 2010
- October 2010
- September 2010
- August 2010
- July 2010
- June 2010
- May 2010
- April 2010
- March 2010
- February 2010
- December 2009
- November 2009
- October 2009
- September 2009
- August 2009
- July 2009
- June 2009


